Tuesday, November 04, 2014

Beef Merlot

Sunday I felt like making something a little "fancier".  Well, Beef Merlot sounds fancy, but it's actually quite easy and very good.  The best part? It calls for 2 cups (about 1/2 bottle) of wine.  So, I get to drink the other half while cooking!  That is the BEST type of meal to cook!

Beef Merlot


Ingredients
2 Tbsp Vegetable Oil
2 1/2 lbs Chuck Roast, cut into bite sized pieces
Salt and fresh ground pepper
1 onion, chopped
1 Tbsp Butter
2 Tbsp Flour
2 carrots, cut into small pieces
2 ribs celery, cut into 1/2" pieces
1 bay leaf (or dried bay leaves)
4 sprigs fresh Thyme
2 cups Merlot
2 cups beef broth

Directions
  1. Salt and pepper beef.  Heat vegetable oil in dutch oven until very hot and sear meat. Remove meat, set aside.
  2. Add onion, let sweat, add a pinch of salt, butter and flour. Cook 3-4 minutes, until onions soften, but don't burn flour.
  3. Add 1/2 bottle (2 cups) of wine. Reduce by about 1/2 (takes about 10 minutes). Add carrots, celery, meat w/juices, pinch of salt, bay leaf and tied thyme sprigs. Cover with 2 cups beef broth.
  4. Bring to a simmer. Cover and simmer 1 1/2 hours on very low.
  5. Uncover and simmer 1/2 hour longer.
  6. Serve over mashed potatoes

Thursday, August 28, 2014

Smothered Cheesy Chicken

Now that I am leaving work at 3pm every day, and NOT logging back in from home, I've been able to make dinner for the family.  There is a downside though. We still really don't have time to eat together, as one kid or the other has practice or games every night of the week, except Friday, around 6pm.  So, the kids and I sometimes eat and then BD eats really quick when he runs in and out.  Sometimes, I get everything ready and either already in the oven so BD and PM can eat while DQ and I are gone, or I have it all ready and BD puts it in the oven at the designated time.

This recipe was one of those that I left in the oven, with instructions on when to take it out.  It was enjoyed by all.  I used my Pampered Chef Mandolin to slice the potatoes very thin.  The chicken was very juicy and tender.  Unfortunately, the bacon grease left a mess of my stovetop!

So, here it is: Smothered Cheesy Chicken

Until next time... "It's gonna be ok"...

Tuesday, June 03, 2014

I'm being published!

How exciting! A recipe I submitted to Gooseberry Patch on a whim is being published in their Mom Knows Best cookbook. I'll receive a free copy in January 2015! Check out the recipe, Balsamic Chicken & Penne Pasta!

Thursday, July 25, 2013

Food Snobs?

Have we all become food snobs? As I browsed through "Outstanding Standby Suppers" on the Betty Crocker website, I found myself scrunching up my nose at the recipes on the list. I read the description for Creamy Cajun Pasta, "Fresh bell peppers, thyme and onion meet a cheesy marinara sauce for super-easy Cajun flavor..." and made a face when I got to the "cheesy marinara sauce". Is that out of a jar or can, gag! I read further and found Pulled Chicken Sandwiches and saw it used a store cooked rotisserie chicken, the horror! 

My next thought was of Hamburger Helper and the like and it just sounded disgusting.  Then I started really thinking, I used to eat everything above.  In fact, sometimes I still buy a rotisserie chicken to use in a meal or a jar of spaghetti sauce (but not Ragu, never Ragu, only the good stuff, right?).  

This got me thinking about our kids. They have grown up getting to CHOOSE what we have for dinner.  That's right, they get to pick.  No, our house isn't like a restaurant, everyone doesn't get a separate meal.  What I sometimes do is let each kid pick a meal for the week, then I choose the others.  But, what they pick isn't Hamburger Helper, chicken nuggets or corndogs.  For example, this week, PM picked Salmon, Rice and Broccoli as his meal of the week (of course, DQ didn't eat that and had leftovers from a super yummy pork chop recipe). DQ picked Creamy Chicken Alfredo, which I am making tonight.

My kids have never even tried Ramen noodles.  I think they've had Hamburger Helper and Tuna Helper less than a handful of times.  DQ's favorite meal to order at a restaurant, or that she always tries to get us to make for dinner (which we don't), is Prime Rib.  PM always wants Salmon or steak.  They rarely eat chicken nuggets any longer. Forget corn dogs, that's a rarity too.

I think we've created children with expensive taste and food snobs!  A few weeks ago, when they were to stay a few days with my parents, they were asked what they'd like for dinners.  DQ immediately piped up with, "Prime Rib!"  They settled on my mom making Tommy's Ham Casserole, which I guess is pretty close to a "ham helper", so maybe they aren't totally ruined.  ;-)

Tuesday, October 02, 2012

Time to start fresh!

It's time to start posting to my blog again! Starting everyone off with a recipe I made last week that BD and I used to make for dinner all the time, back before the kids started eating the same food as us! The verdict? BD and I loved it. PM liked it. DQ said it was too spicy. As a suggestion, serve with Fat Free Sour Cream!

Tortilla Lasagna

Ingredients:


1TBLSP Vegetable Oil
1 LB Ground Turkey
1 Cup Chopped Onion
1 ½ Cup Chopped Green and/or Red Peppers
½ cup (4 oz) Diced/Chopped Green Chiles
1 PKG Taco Seasoning
2 Cups (16 oz) Ortega Thick & Smooth Taco Sauce
10 Flour Tortillas
2 cups Mexican Blend Shredded Cheese

Directions:
  1.  Preheat oven to 375⁰ and grease 13x9 baking dish.
  2.  Heat vegetable oil in large skillet over medium heat.  Add ground turkey and cook , stirring  occasionally for 5-6 minutes, or until no longer pink.
  3.  Drain meat, stir in onion, bell peppers, chiles and seasoning mix.
  4.  Reduce heat and cook for 3-4 minutes, until vegetables are slightly tender, stirring occasionally.
  5.  Spread ½ cup taco sauce over bottom of prepared baking dish, cover with 5 tortillas.
  6.  Spread with half of meat mixture and ½ cup of taco sauce. Top with 1 cup of cheese.
  7.  Repeat with remaining 5 tortillas, meat, taco sauce, ending with cheese on top.
  8.  Bake 15-20 minutes or until heated through and cheese is melted.


Monday, June 06, 2011

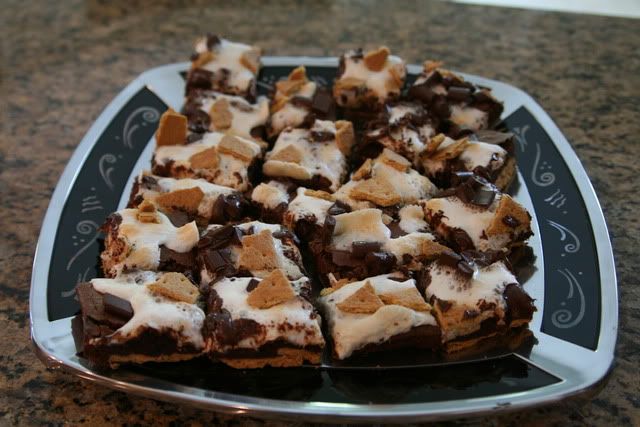
S'more Brownies

The recipe for these yummy treats can be found here. While they were good, I'd cook them a tad shorter time the next time I make them, as BD thought they were not quite as gooey as he'd like them.

Friday, January 21, 2011

Chicken and Dumplin's

Sorry, I completely forgot to take a picture of this! But, I can say, this is one of my favorite recipes!!!

Ingredients:
5 bone in skinless chicken breasts
1 can cream of chicken soup
seasoning salt
pepper
salt
garlic powder
1 stick butter
1 box frozen dumplings

Directions:
  1. Boil chicken with water, salt, pepper, seasoning salt and garlic powder until done. (note, lots of salt & pepper)
  2. Leave about 4 cups of broth in pot and add one stick of butter and cream of chicken soup (set aside remaining broth).
  3. Shred/cut up chicken.
  4. Bring broth mixture to boil, reduce heat and lay dumplings on top, let cook until scalded and push to bottom. Repeat with as many as you want. If the mixture gets too thick, add some of the reserved chicken broth.
  5. Mix in chicken and pour into a GREASED (spray with cooking spray) crock pot. Cook on low. Add more broth if it gets too thick.
Once it is put into the crock pot, it is pretty much ready to eat. But, this is a great way to take this dish someplace and keep it warm for a while.

Tuesday, November 16, 2010

Look what I did!

I went and found myself another part time job! I know, I don't have enough to do already, but I really LOVE Scentsy and figured what the heck, I might as well make some money and stop just buying! So, if you are in need of anything Scentsy, want to know what it is, need ideas on what to get your kids teacher or your mother-in-law, let me know! Check out my website too: https://mnehring.scentsy.com.

Thursday, September 23, 2010

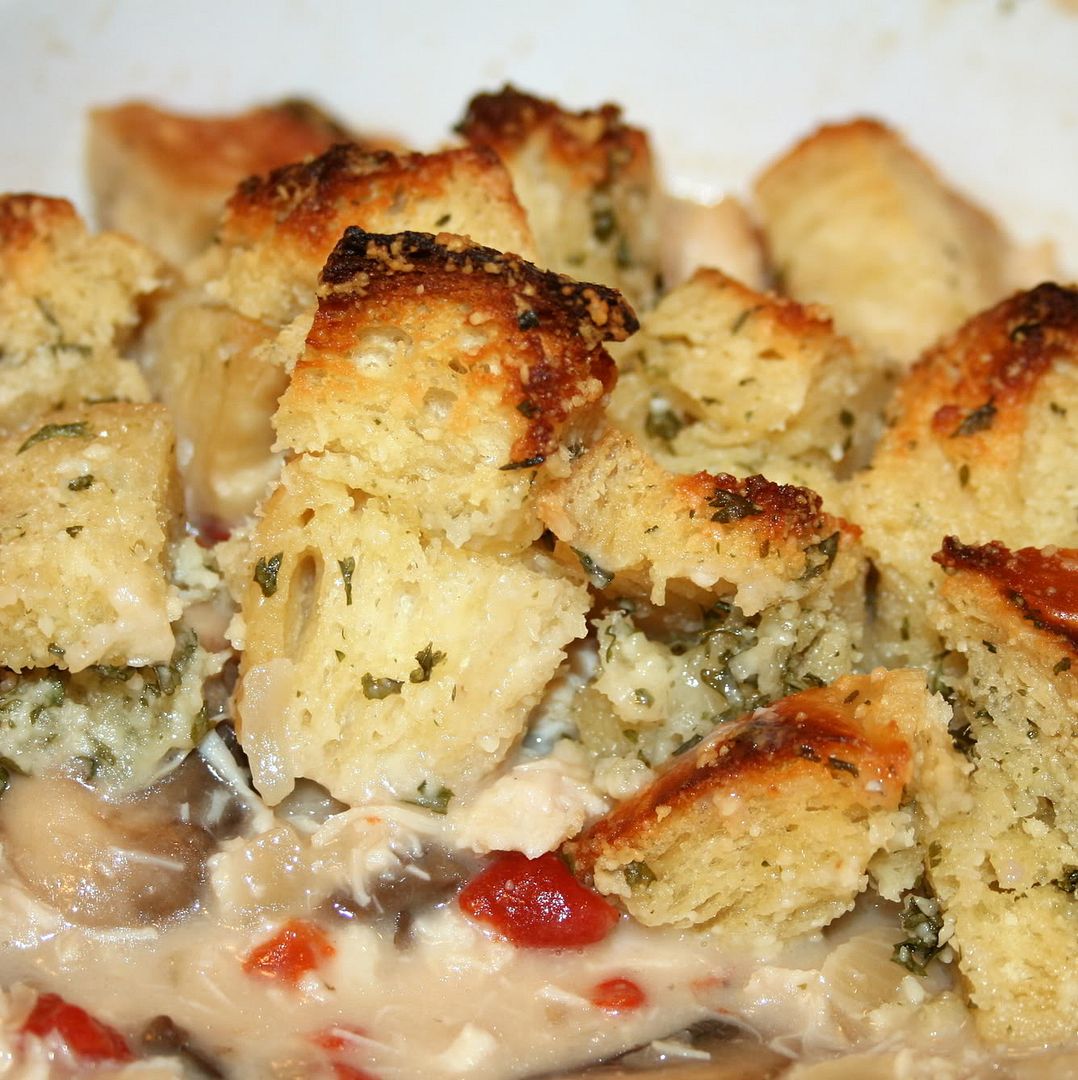
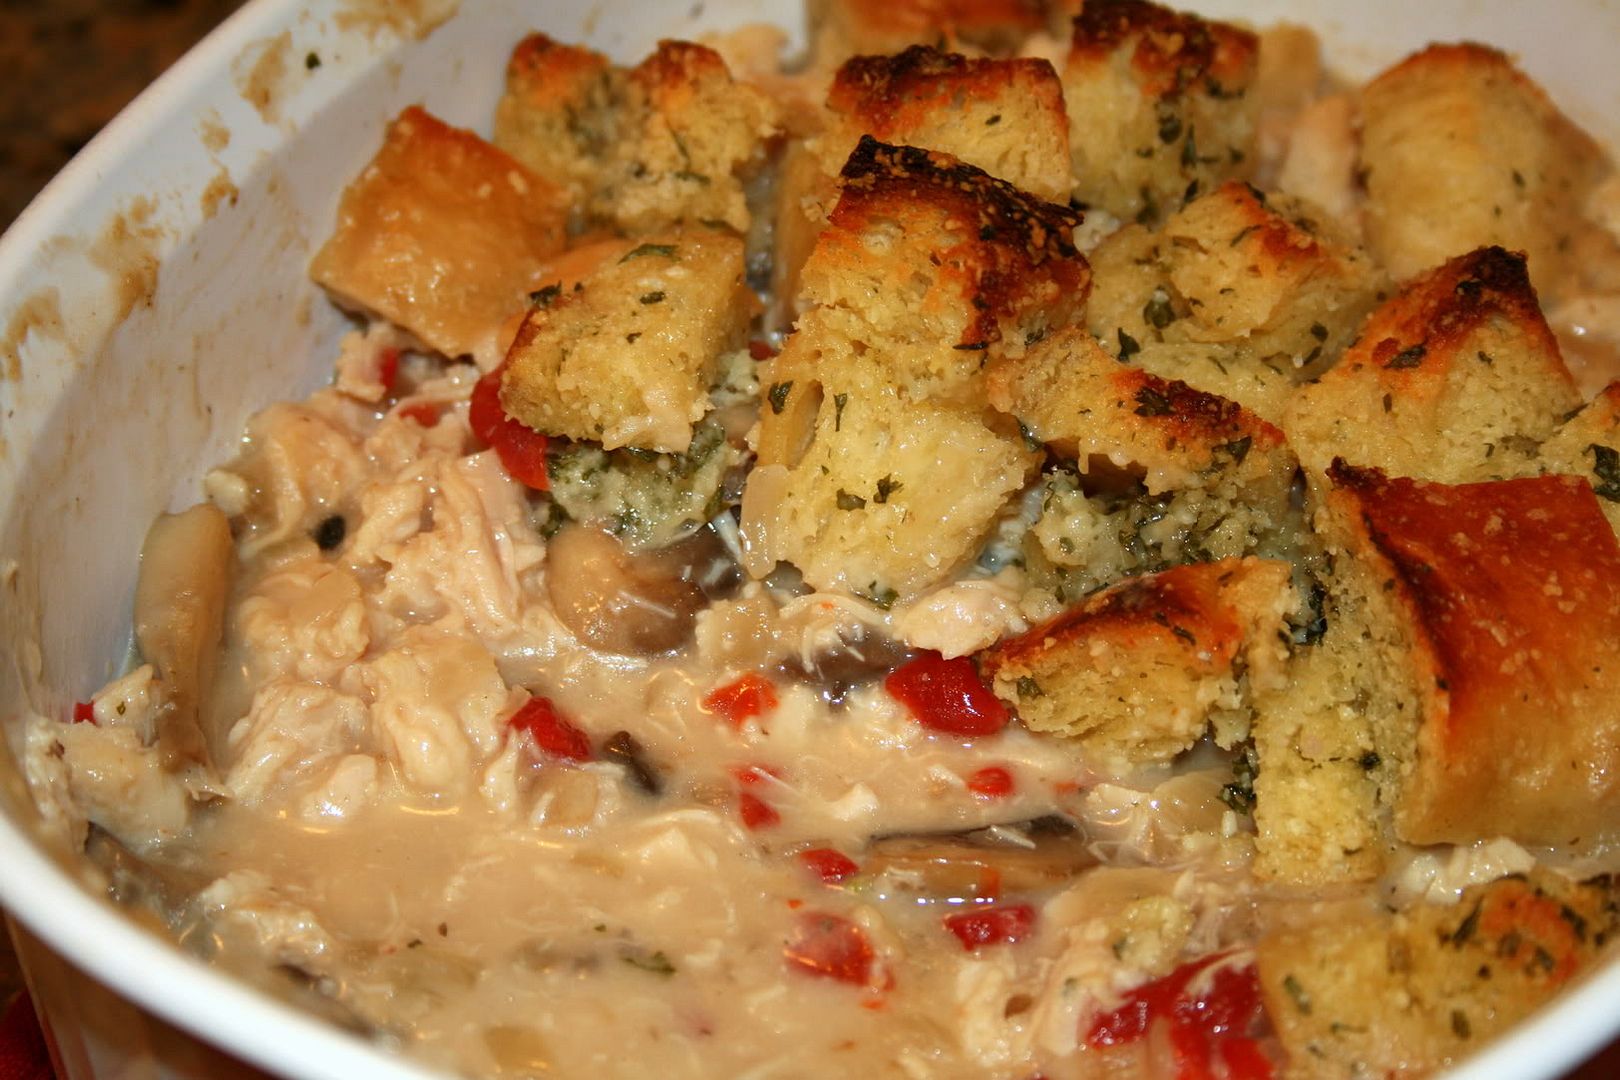
Chicken Cobbler

Last night I tried a new recipe out on the family called Chicken Cobbler. BD and I liked it, the kids, not so much. I think this will be one we wait and try out again when the kids are older.


Chicken Cobbler (adapted from Southern Living)

Ingredients:
6 TBSP melted butter, divided
4 cups cubed sourdough rolls (I bought a loaf of sourdough bread and cubed 4 cups)
1/3 cup grated Parmesan cheese
2 TBSP chopped fresh parsley (I just used some dried, just sprinkled in)
2 medium-size sweet onions, sliced (I used one med/lrg and diced it)
1 (8-ounce) package sliced fresh mushrooms
1 cup white wine (I had to use cooking wine, as I finished off my open bottle the night before!)
1 (10 3/4 ounce) can cream of mushroom soup
1/2 cup drained and chopped jarred roasted red bell peppers
2 1/2 cups shredded cooked chicken (I used 2-20 oz cans and drained and shredded, next time though, I'll buy rotisserie and use it instead)

Directions:
  1. Toss 4 TBSP melted butter with cubed bread, Parmesan cheese and parsley, set aside.
  2. Saute onions in remaining 2 TBSP butter in a large skillet over medium-high heat 15 minutes or until golden brown. Add mushrooms and saute for 5 minutes.
  3. Stir in wine, soup, peppers and chicken. Cook, stirring constantly, 5 minutes or until bubbly.
  4. Spoon mixture into a lightly greased baking dish and top evenly with bread mixture.
  5. Bake at 400 degrees for 15 minutes, or until golden brown (mine baked 13 min.).

Thursday, September 16, 2010

It's the most wonderful time of the year...

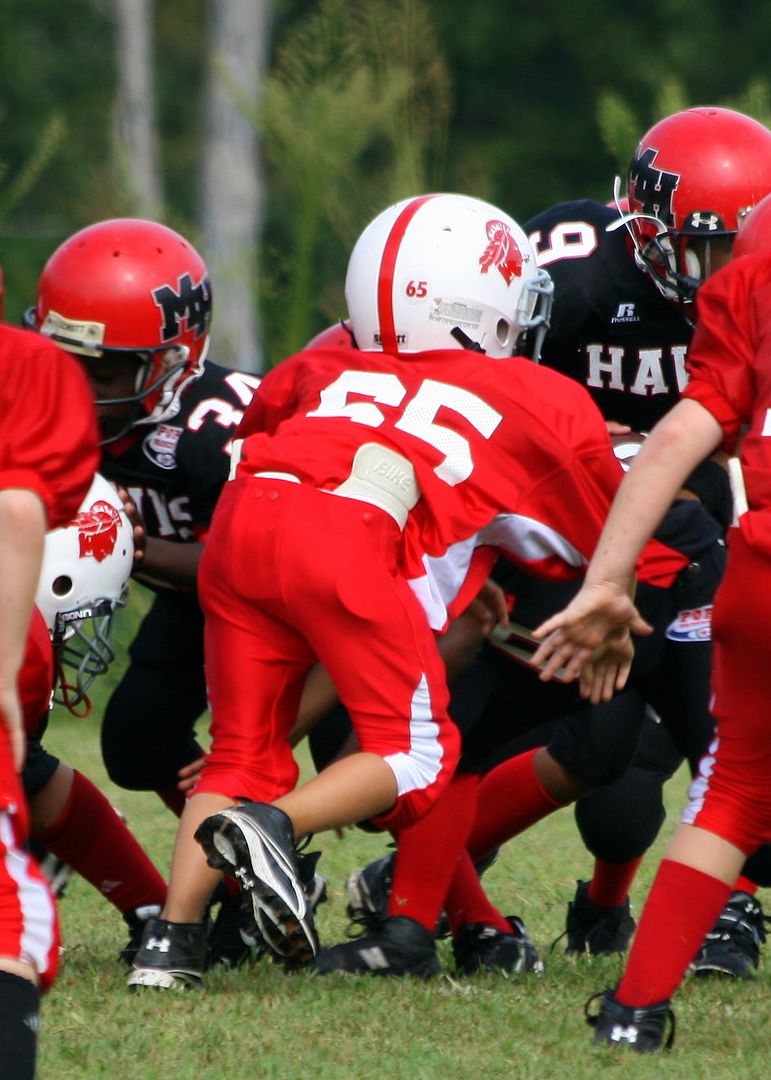
No, I don't mean Christmas, I mean football season! PM is now mostly playing defense and had a few good tackles during last Saturdays game. DQ is excited to be able to stunt. It should be a great season, as we won our first game 26-0!

Thursday, July 22, 2010

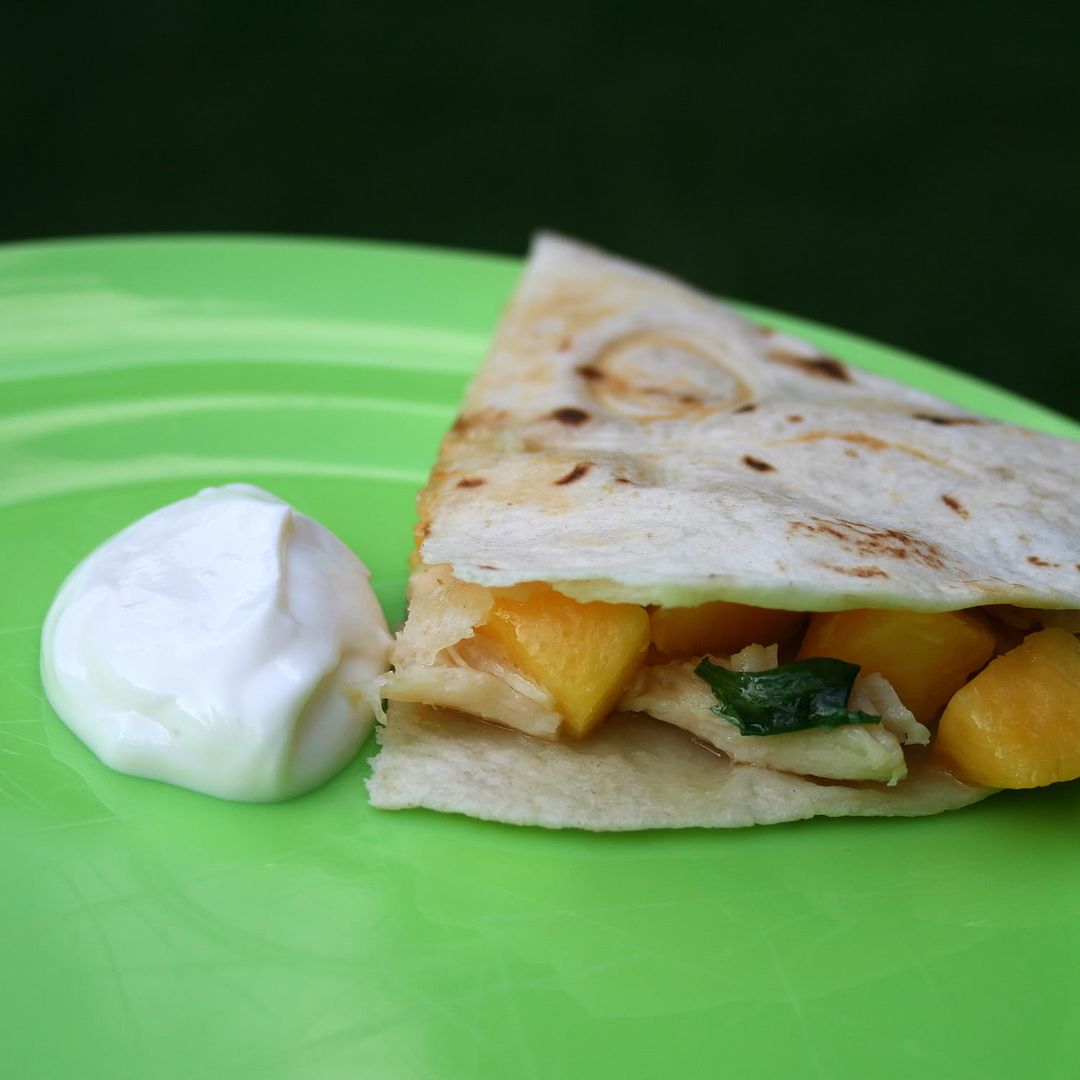
Pepper Jack, Chicken and Peach Quesadillas


This is a recipe from Cooking Light that I just had to try. I made DQ and her friend cheese quesadillas and made these for BD and I. They were awesome! I served them with the Spinach Salad, also listed below. BD liked the quesadillas, but could have done without the salad.

Pepper Jack, Chicken and Peach Quesadillas
adapted from Cooking Light Makes 4 servings
Ingredients
1 tsp honey
1/2 tsp lime juice
1/2 cup reduced-fat sour cream
3/4 cup (3 oz) shredded Pepper Jack cheese
1 cup chopped cooked chicken (I used a 10 oz can)
1 cup thinly sliced peeled peaches
4 tsp chopped fresh cilantro
4 (8-inch) flour tortillas
Directions
  1. Combine honey and lime juice in small bowl, stir well with a whisk. Stir sour cream into honey mixture; cover and chill until ready to use.
  2. On each tortilla, spread 3 tbsp of cheese, 1/4 cup chicken, 1/4 cup peaches and 1 tsp cilantro. Fold tortilla in half
  3. Cook quesadillas either in quesadilla maker (this is what I did) or in a skilled sprayed with cooking spray. If you use a skilled, put another heavy pan on top of the quesadilla while it cooks and flip after 1 1/2 minutes
  4. Cut and serve with sour cream sauce
For the Spinach Salad, first mix the following in a large bowl:
  • 1 tbsp lime juice
  • 1 tbsp olive oil
  • 1/8 tsp salt
  • 1/8 tsp pepper
  • 1/8 tsp ground cumin
Top with 5oz package of baby spinach and some thin sliced red onion. Toss to coat

Tuesday, July 13, 2010

Tomato Pie

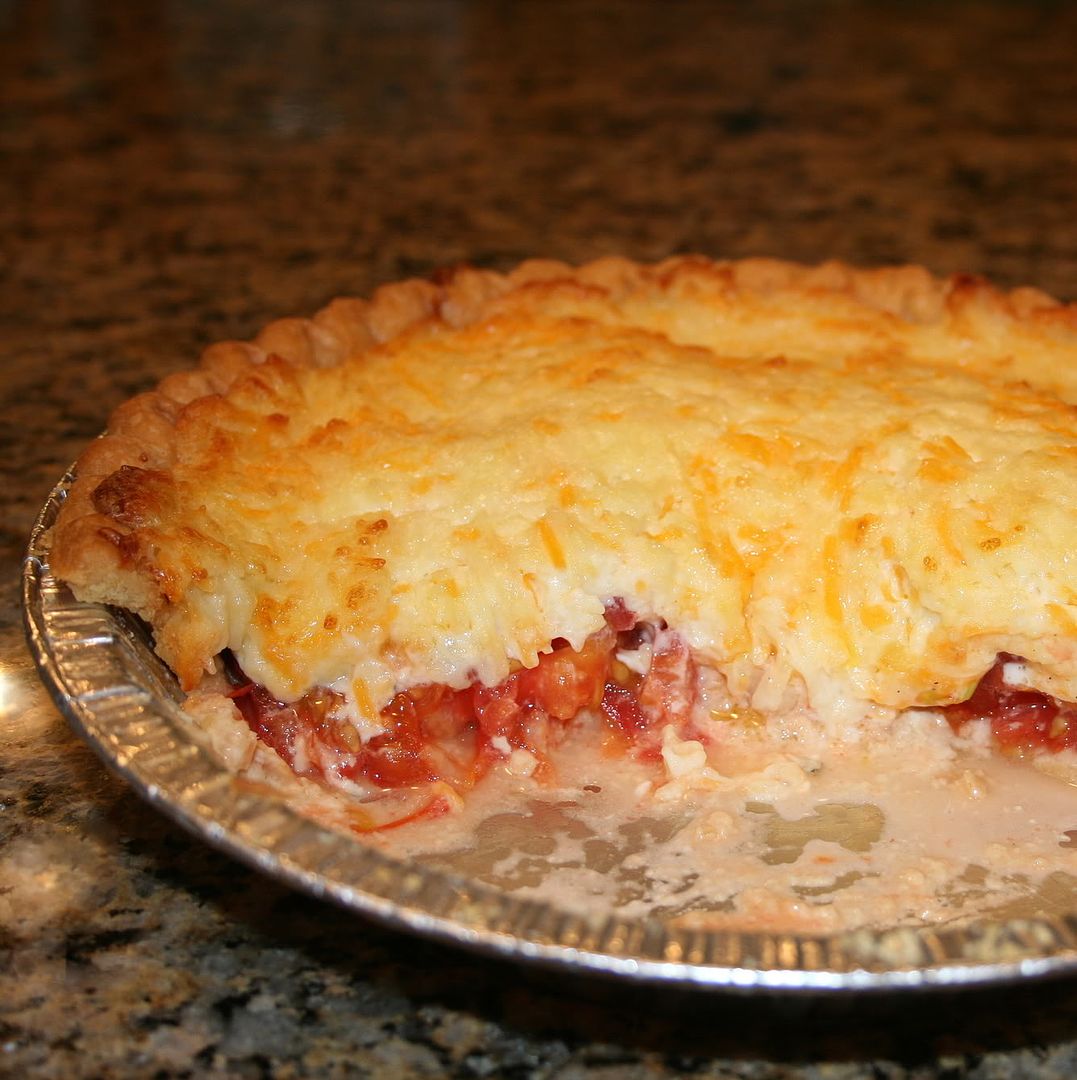
Being from the Midwest, I had never heard of Tomato Pie until one of my Southern friends introduced me to it. I must say, it's the best thing ever! Here it is before the topping is put on (note, don't be like me and be lazy, you do need to peel the tomatoes, and run them under water to get all of the liquidy stuff out, or your pie will be runny).

When the pie is done, and you've taken a few pieces out, it looks like this:


Without further delay, here's the recipe:

Tomato Pie

Pastry for 1- 9 inch deep-dish pie (you can use store bought)
4 tomatoes, peeled, sliced, rinsed (take out core if you like)
8-10 fresh basil leaves, chopped
1/3 cup chopped green onion
salt and pepper to taste
1 cup grated part-skim mozzarella cheese
1 cup grated cheddar cheese
1 cup mayonnaise

Directions:
  1. Cook store-bought pie crust according to package directions and cool
  2. Arrange tomato slices in crust, overlapping
  3. Add basil and onion, then sprinkle with salt and pepper to taste
  4. Mix cheeses and mayonnaise in small bowl
  5. Spread over tomatoes
  6. Bake at 350 degrees for 30 minutes, or until lightly browned
  7. Cool about 10 minutes before slicing

Wednesday, June 02, 2010

BBQ Beef & Beans

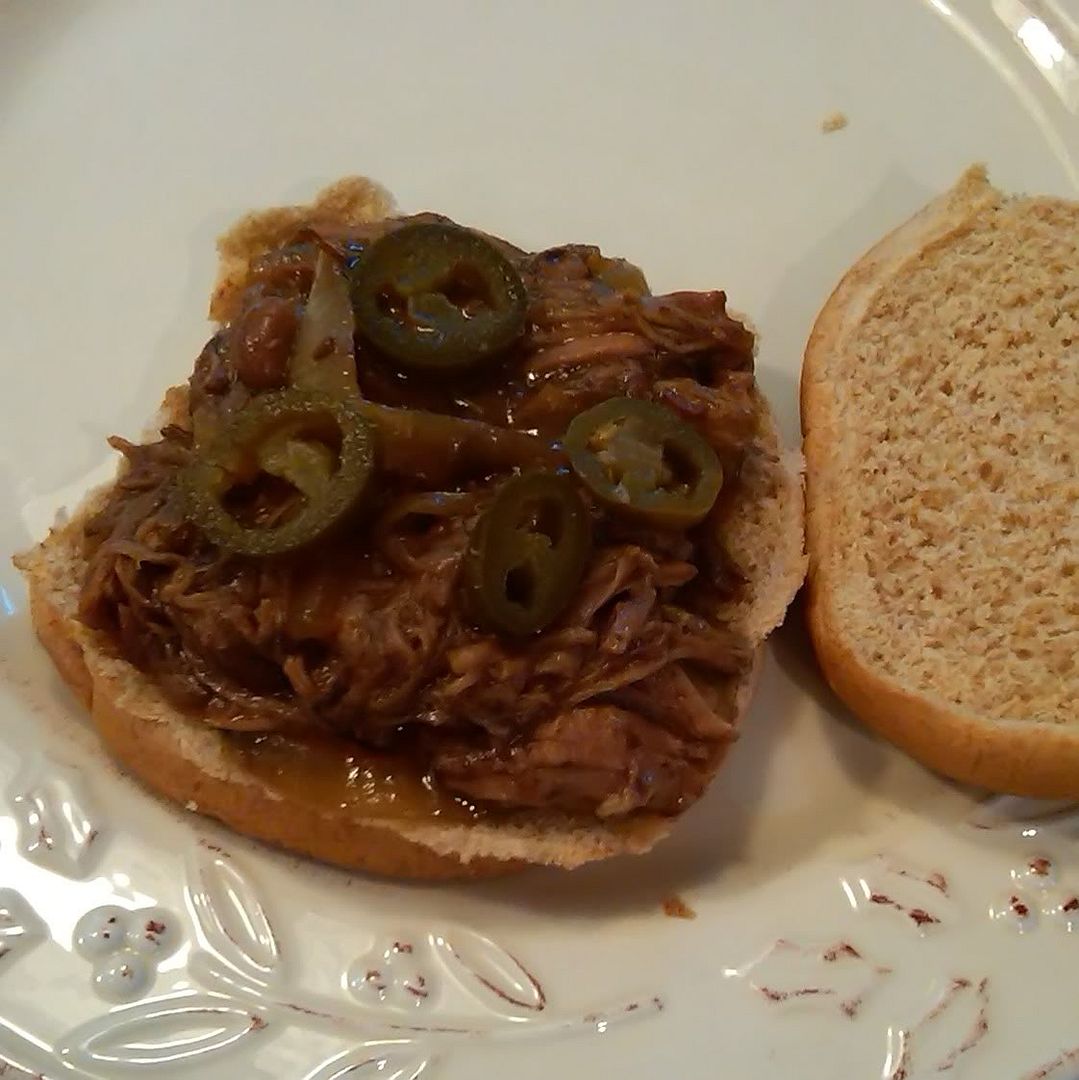
This is kind of like sloppy joes, but with a little added extra. PM like it, DQ picked out the beans and onions the first night. The second night, she had ravioli. ;-)

BBQ Beef and Bean Sandwiches

Ingredients:
Chuck Roast (about 3 - 4 lbs)
1 onion sliced (I used a vidalia)
3 cloves minced garlic
1- 16.5oz can bbq flavor baked beans (I think mine was about 18oz)
2 tablespoons water
1/4 - 1/2 cup bbq sauce
wheat sandwich buns
optional: jalapeno slices

Directions:
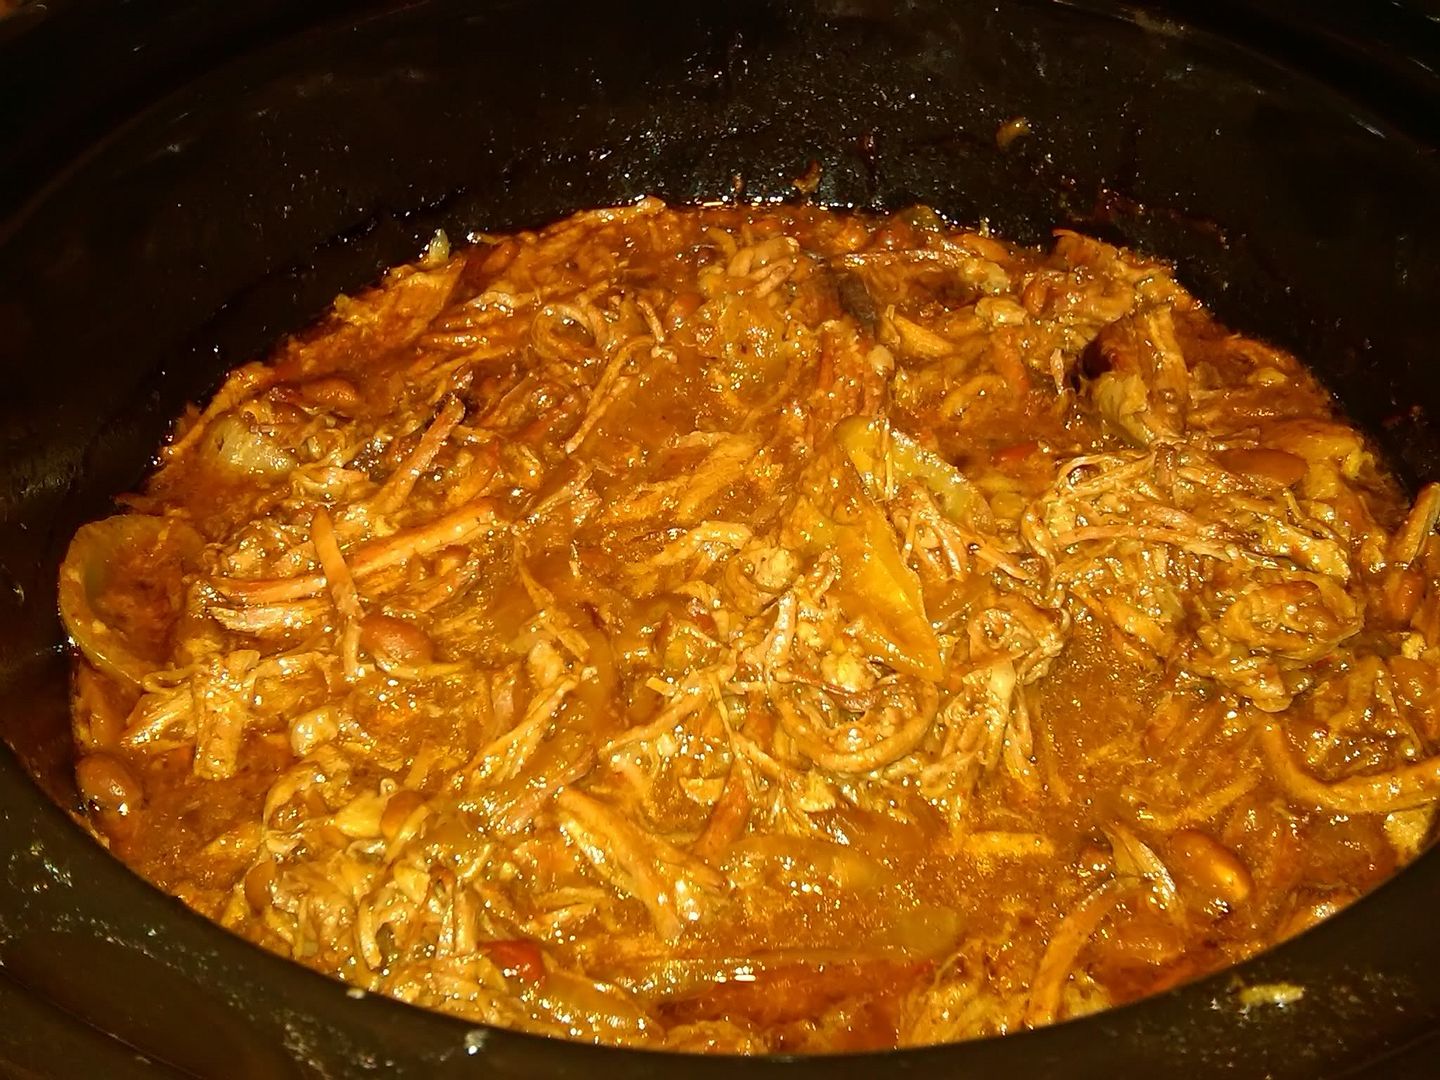
Place meat in crock pot. Add onion, garlic and then the beans. Use the 2 tbsp of water to swish around the can and pour into the crock pot (to get everything out of the can). Add the bbq sauce. Cover and cook on low for about 10 hours or so. If you started with a frozen chuck roast, this may take a little longer. Using two forks, shred the beef and mix it all up so that it looks like this: (taken with cell phone, so not the best pic)

Serve on wheat hamburger buns. I put jalapeno's on mine. Next time, I may add pepperjack cheese too!

Wednesday, January 27, 2010

DQ Makes a Basket!

Boy, she has really come a long way since last year, when she couldn't even get the ball close to the basket! Here is the pass to her and then her perfect shot!

Wednesday, December 02, 2009

It's that time of the year again

Everything is hitting at once. We have parades, banquets, concerts, birthdays... Ai-yi-yi! Below are two video's of DQ singing at her choir concert at church last night. BD did the recording, and as you can see, he is quite wiggly!


Monday, November 16, 2009

Cheer Routine!

Here it is, DQ's halftime cheer routine (also the one they used at competition).

Wednesday, November 11, 2009

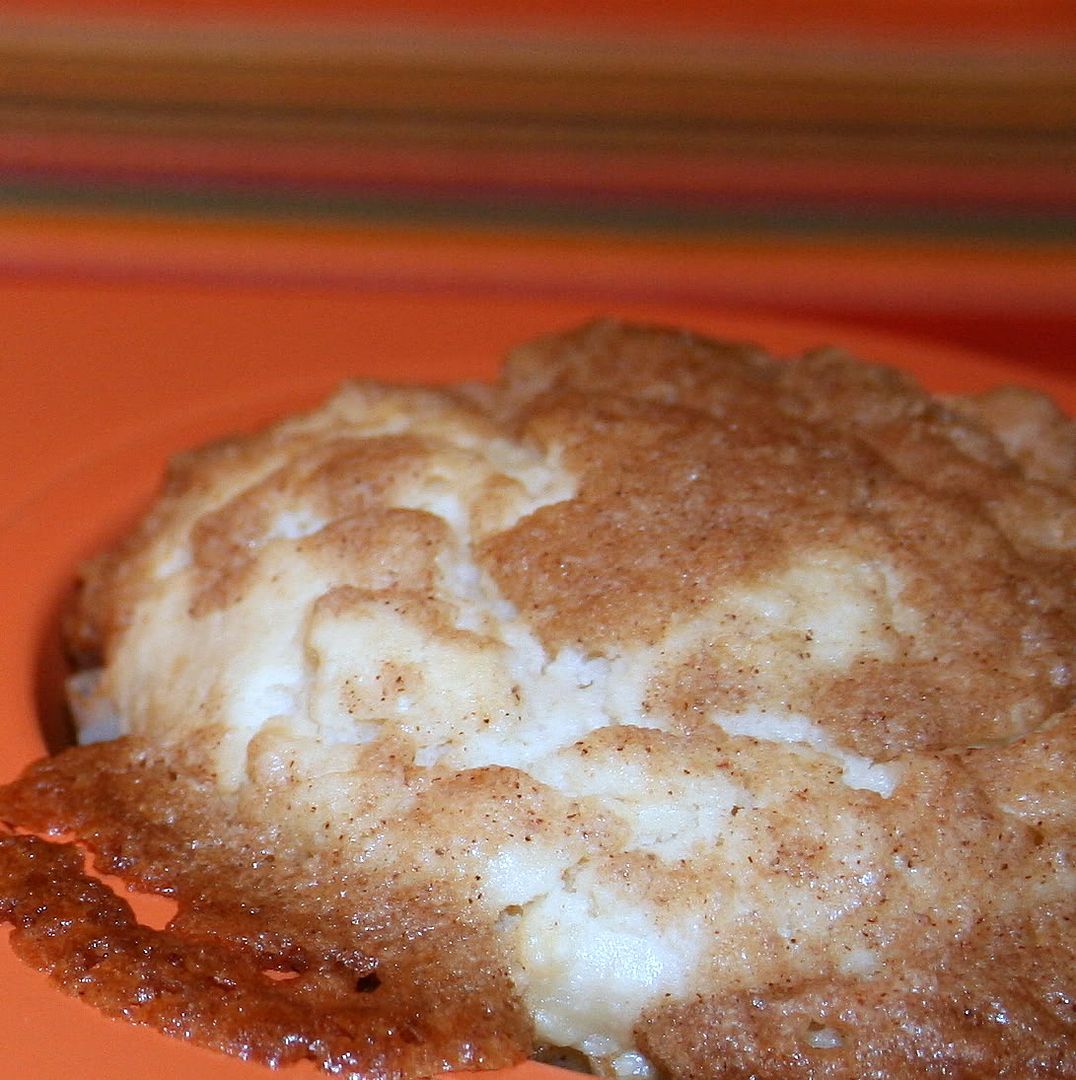
Amaretto Apple Streusel Cupcakes

I saw these in the October 2009 issue of my Cooking Light magazine and just had to make them. DQ helped. We had a great time. Unfortunately, with that much amaretto in them, I had to limit the amount of batter she got to eat. :-) With the glaze below, I messed up though and did 4 tablespoons instead of teaspoons of milk, so my glaze is W-A-Y too runny! I'll do better next time!

Ingredients:
Cooking spray and 12 cupcake/muffin tin liners
1 1/2 cups all-purpose flour
1/2 teaspoon baking powder
1/4 teaspoon salt
1/4 teaspoon baking soda
3/4 cup granulated sugar
1/4 cup (2 oz) 1/3-less-fat cream cheese, softened
1/4 cup butter, softened
2 tablespoons amaretto
1 teaspoon vanilla extract
1 large egg
1/2 cup reduced-fat sour cream (I used fat free)
1/4 cup 2% reduced-fat milk (I used skim)
3/4 cup finely chopped Gala apple
1 tablespoon all-purpose flour

Streusel:
2 tablespoons all-purpose flour
2 tablespoons brown sugar
1/4 teaspoon ground cinnamon
2 tablespoons butter, chilled
2 tablespoons sliced almonds (I omitted)

Glaze:
1 cup powdered sugar
4 teaspoons 2% reduced-fat milk (I used skim)
  1. Preheat oven to 350.
  2. Place muffin cup liners in 12 muffin cups; coat with cooking spray.
  3. Spoon 1 1/2 cups flour into dry measuring cups; level with a knife. Combine flour, baking powder, salt and baking soda in a small bowl, stirring with a whisk.
  4. Combine granulated sugar, cream cheese and 1/4 cup butter in a large bowl; beat with a mixer at high speed until well blended. Add amaretto, vanilla and egg to sugar mixture; beat with a mixer at medium speed until well blended.
  5. Combine sour cream and 1/4 cup milk in a small bowl; stir with a whisk until well blended.
  6. Combine apple and 1 tablespoon flour in a small bowl; toss well.
  7. Add flour mixture and sour cream mixture alternately to sugar mixture, beginning and ending with flour. Beat just until blended.
  8. Fold in apple mixture with spoon.
  9. Divide batter evenly among muffin cups.
  10. To prepare the streusel, combine 2 tablespoons flour, brown sugar and ground cinnamon in a small bowl. Cut in 2 tablespoons butter with a pastry blender or fork, until mixture resembles coarse meal; stir in almonds (I omitted).
  11. Sprinkle streusel evenly over cupcakes.
  12. Bake at 350 for 27 minutes or until a wooden pick inserted in center comes out clean.
  13. Cool in pan for 15 minutes on wire rack and remove the cupcakes from the pan.
  14. To prepare glaze, combine powdered sugar and 4 teaspoons milk in a small bowl, stirring with a whisk.
  15. Drizzle glaze over cupcakes.
Right out of the oven, next time I would do more streusel:

With the glaze below, I messed up though and did 4 tablespoons instead of teaspoons of milk, so my glaze is W-A-Y too runny! I'll do better next time!

Monday, August 31, 2009

Bugs


Now, I don't love bugs. In fact, I don't like them very much at all. The other day (actually it was Monday, July 27 (the day DQ got her tonsils out) that we noticed this guy sitting on the deck right outside the door. DQ thought PM would like to see him, so we took a picture. Pretty cool, if I do say so myself...

Monday, August 17, 2009

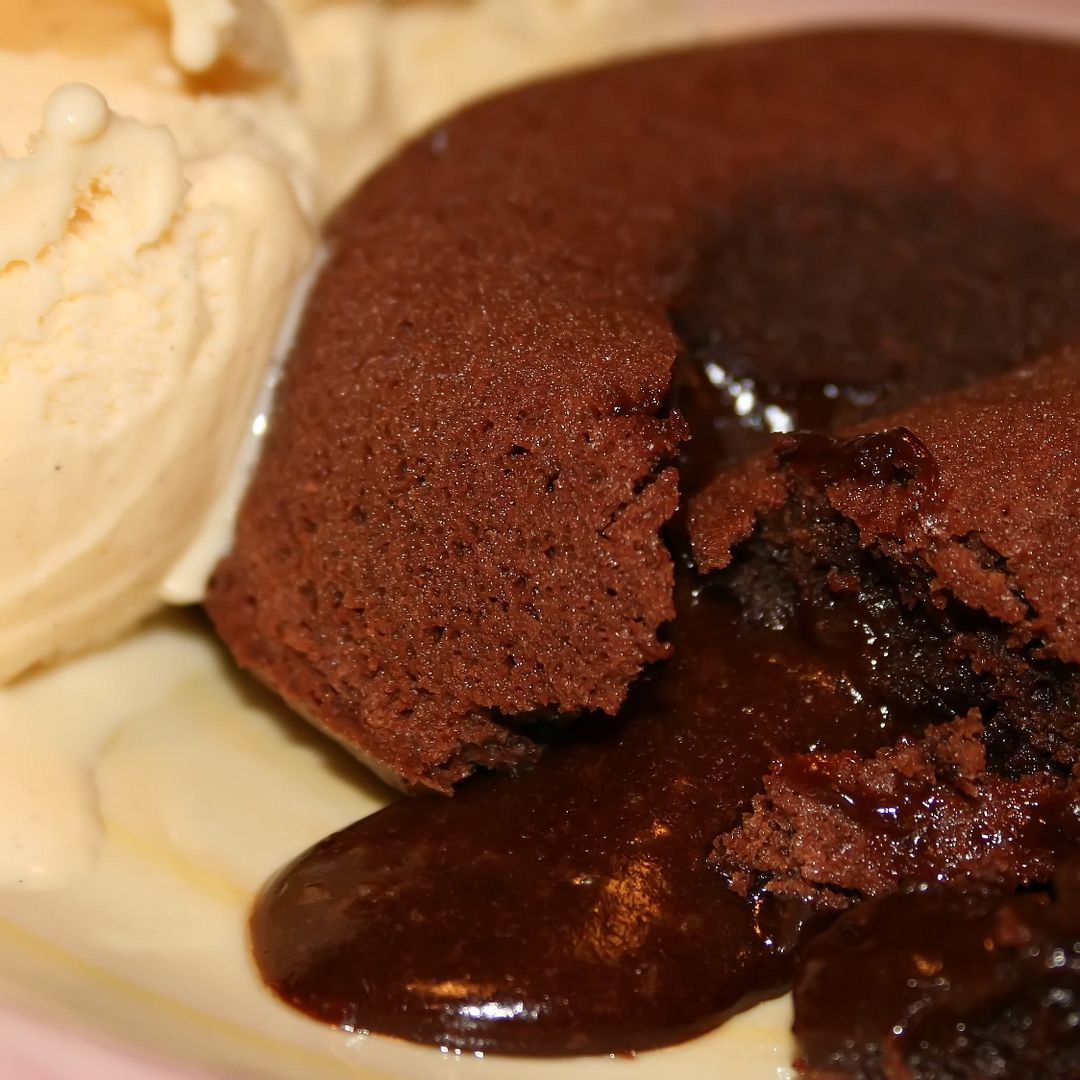
Chocolate Molten Cakes

Besides the Best Chocolate Sheet Cake from Pioneer Woman, there is one other dessert the kids ask for by name. That is, the Molten Chocolate Cakes. On Friday night, we were going to a friends house for dinner and they requested the Chocolate sheet cake, so I obliged and made it. They kept the cake, my kids were mortified! So, last night, the kids wanted me to make it again. But, it's just so big that I suggested the Molten Chocolate Cakes instead. The nice thing is about these is that there are not any leftovers. It makes four and that's it! While the original recipe (linked above) suggests making your own whipped cream to serve with the cakes, we prefer vanilla ice cream (personally, I prefer French Vanilla).

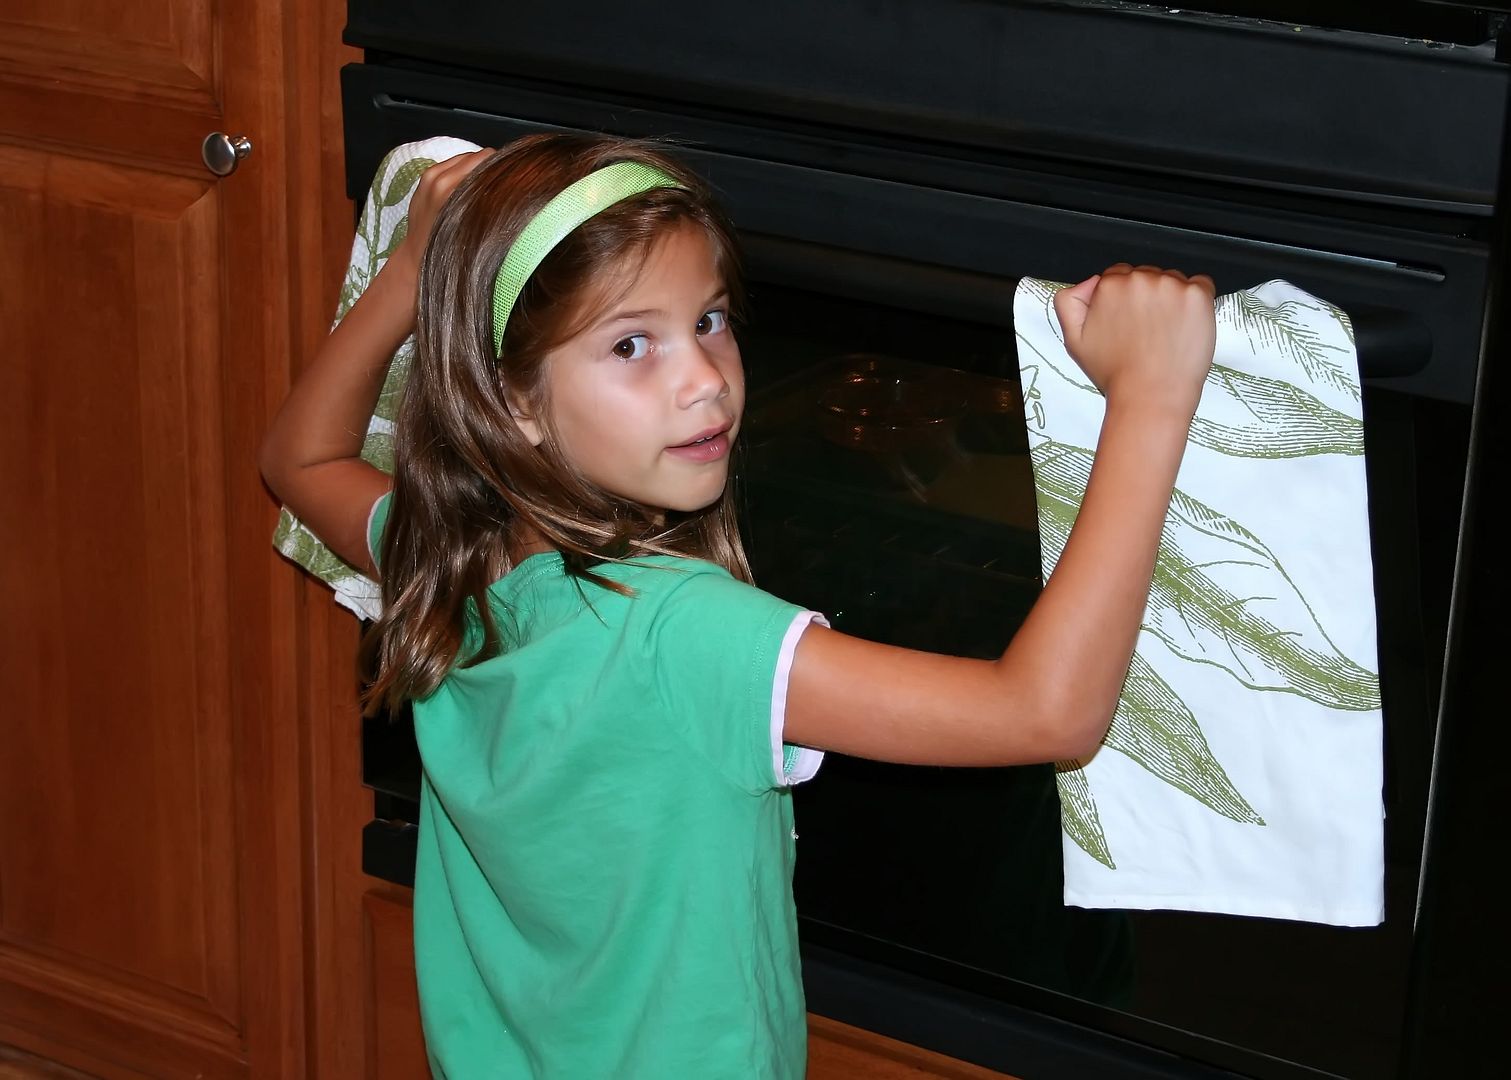
DQ kept trying to peek at the cakes as they cooked:


Molten Chocolate Cakes
4 pieces (1 oz each) Semi-Sweet Baking Chocolate
1/2 cup Butter
1 cup Powdered Sugar
2 whole Eggs
2 whole Egg Yolks
6 Tablespoons Flour
Vanilla Ice Cream

  1. Preheat oven to 425 degrees
  2. Spray 4 custard cups with Pam and place on cookie sheet
  3. Microwave chocolate and butter in a large bowl on high for about 1 minute, or until butter is melted
  4. Remove from microwave and whisk until chocolate is also melted
  5. Stir in powdered sugar until well blended and most of lumps are gone
  6. Whisk in eggs and egg yolks
  7. Stir in flour
  8. Divide between the 4 sprayed cups
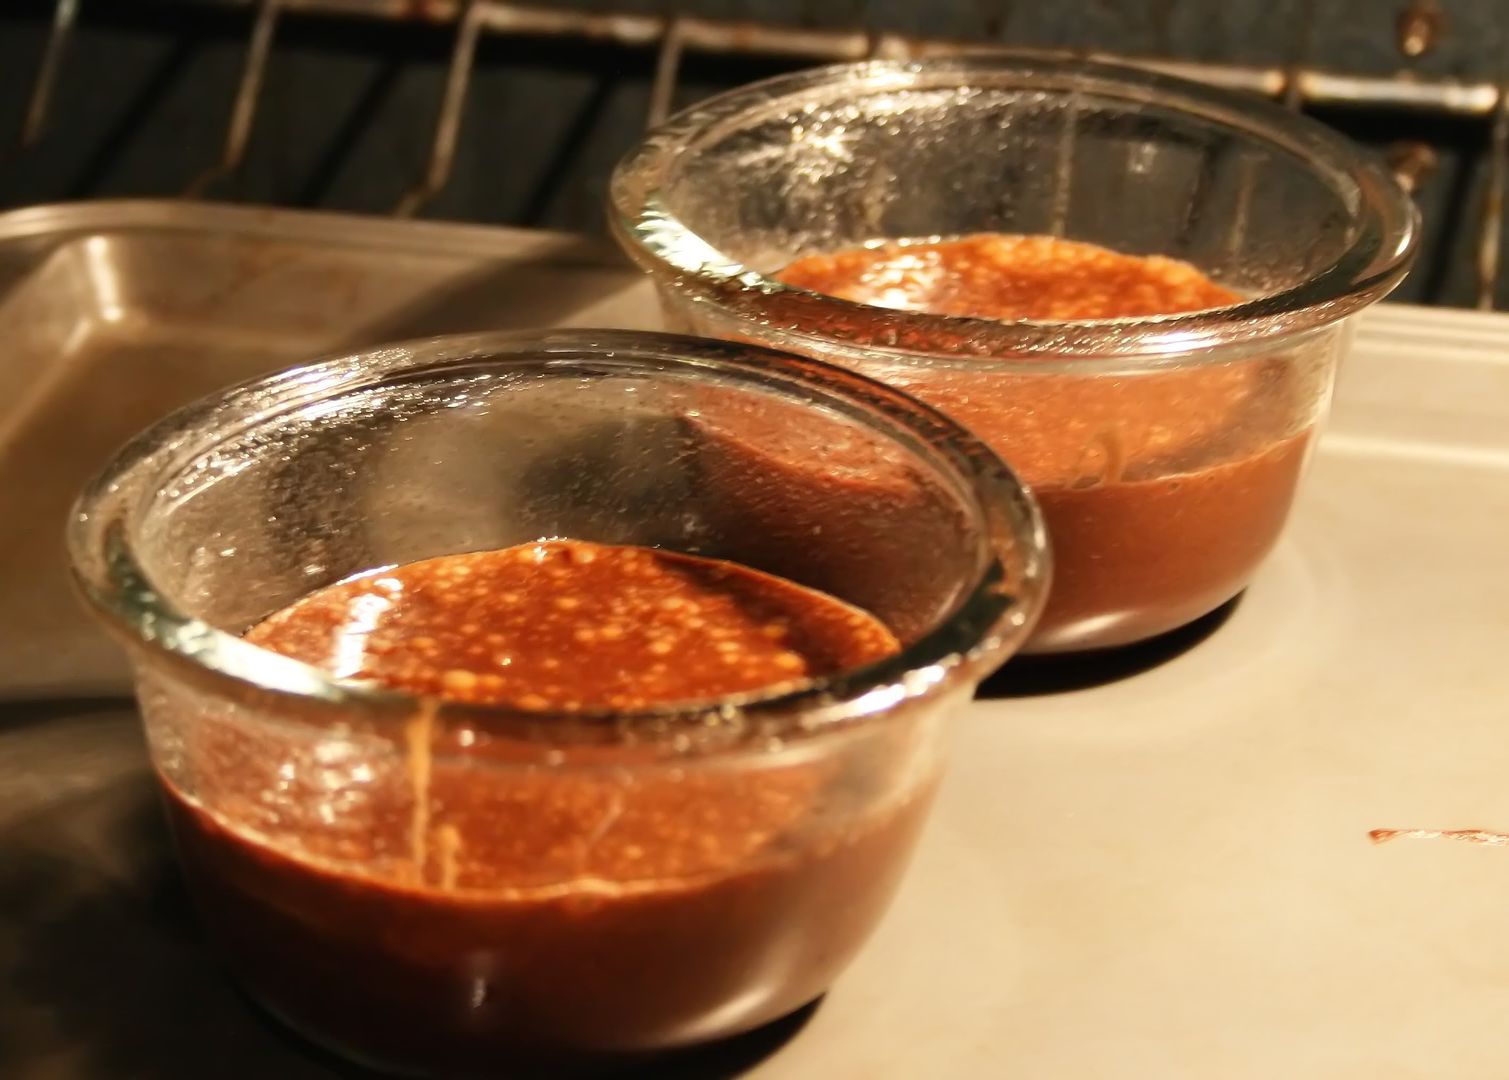
  9. Bake for 13-14 minutes, or until sides are tender and center is soft (here they are baking)

  10. Let stand 1 minute
  11. Invert cakes on dishes and serve with vanilla ice cream
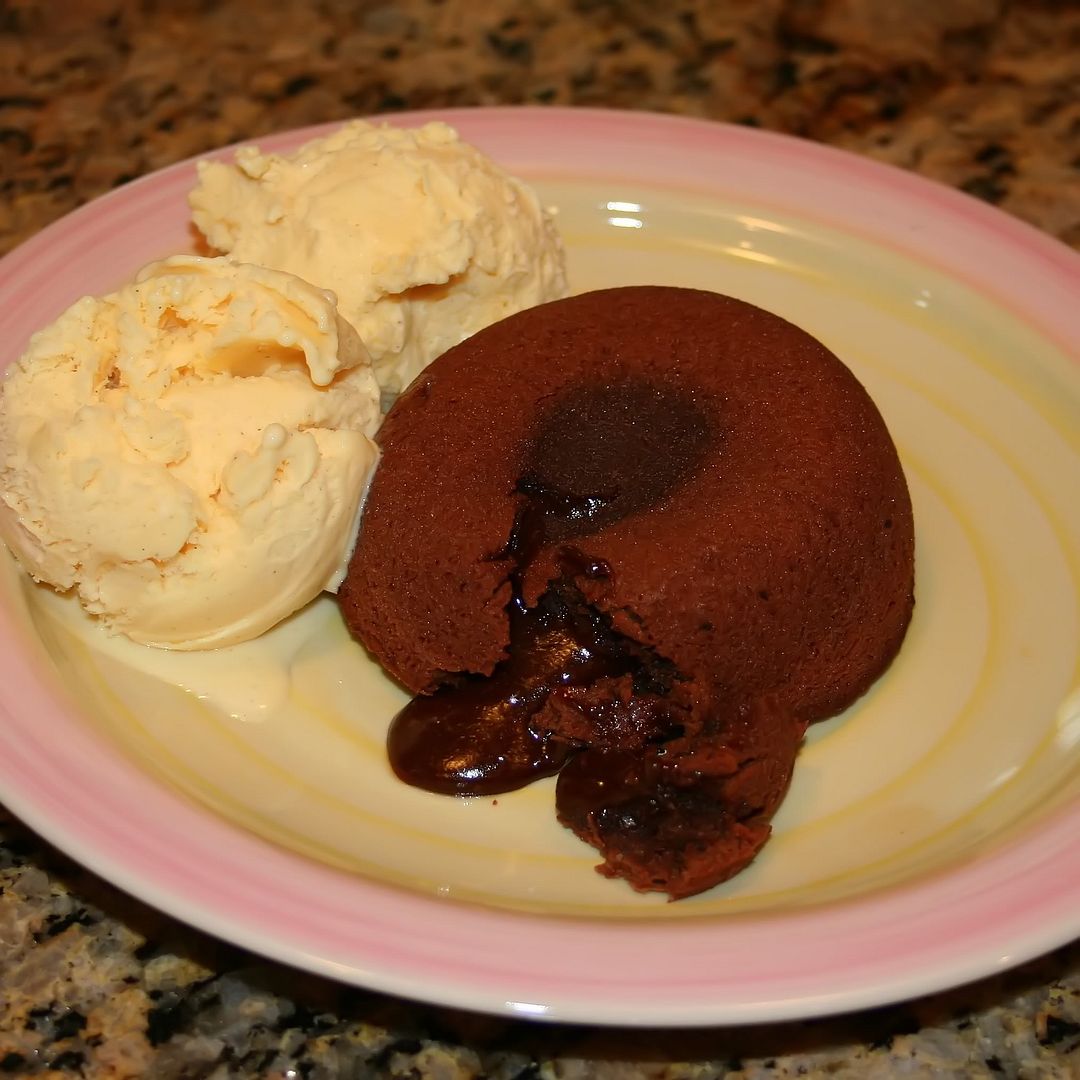
Ah... Heaven on a plate:

So, there you have it. Nice and easy. The hardest part is the inverting onto plates. I put a plate on top of a custard cup, grab the plate and cup with my oven mits with the rubber on them and invert at one time. It works pretty darn good.

Thursday, July 02, 2009

Inspiration

First, I want to state that I have nothing against people who truly have a handicap. If you are, or someone you know is, handicapped and need alternative modes of transportation, then, by all means, you or they should be able to use it.

That all said, I now know where the inspiration for the movie Wall-E came from. If you have seen the movie, you will recall that the people on the ship became so lazy that they did nothing for themselves. In fact, they didn't even walk, they simply reclined on motorized vehicles that did everything for them. They pushed buttons and sucked their meals through straws.

I believe they got the inspiration for all these people from Disney World. I say that because while we were there, it seemed that every other person was riding a motorized scooter. Most of these people did not need to be riding in these scooters, in fact, the walking probably would have been very good for them. In fact, when they would get on a bus, they would sit on the scooter until the bus got there. When the driver got off to help the person get on the bus, the person would either stand and let the driver put the scooter on the bus or they would drive it on themselves and then stand. Eight times out of ten, the person had no problems walking onto the bus or to a seat. When they got off, it was the same thing.

At the parks, you would rent a scooter, or a wheelchair, just like you could a scooter. At Hollywood Studios, I took this picture:

I couldn't believe my eyes! After I saw this, I realized why I could barely walk down one of the streets of the park, as the scooters were stretched across 5 wide blocking the path. Sometimes, you would see several together and riding on the laps of some of the drivers were children. Not little children either, but tweens who could walk perfectly fine.

After several rides, we finally realized why so many people rented the scooters and wheelchairs. It's like having your very own Fast Pass. The driver and their family could drive to the front of the line to a special handicapped entrance and get right on the ride.

Now, as I said earlier, if someone truly needs a wheelchair or scooter, then, by all means, let them use it. But, don't encourage people to be lazier than they already are by renting the scooters and wheelchairs on site to anyone willing to pay the money. Maybe to rent one you need a handicapped tag from your car to prove you need it? Who knows. I just know that by the end of the trip, we were referring to the scooters, with riders, as Wall-E.